
IndieAuth for a Personal Website — Making Your Own URL Your Login
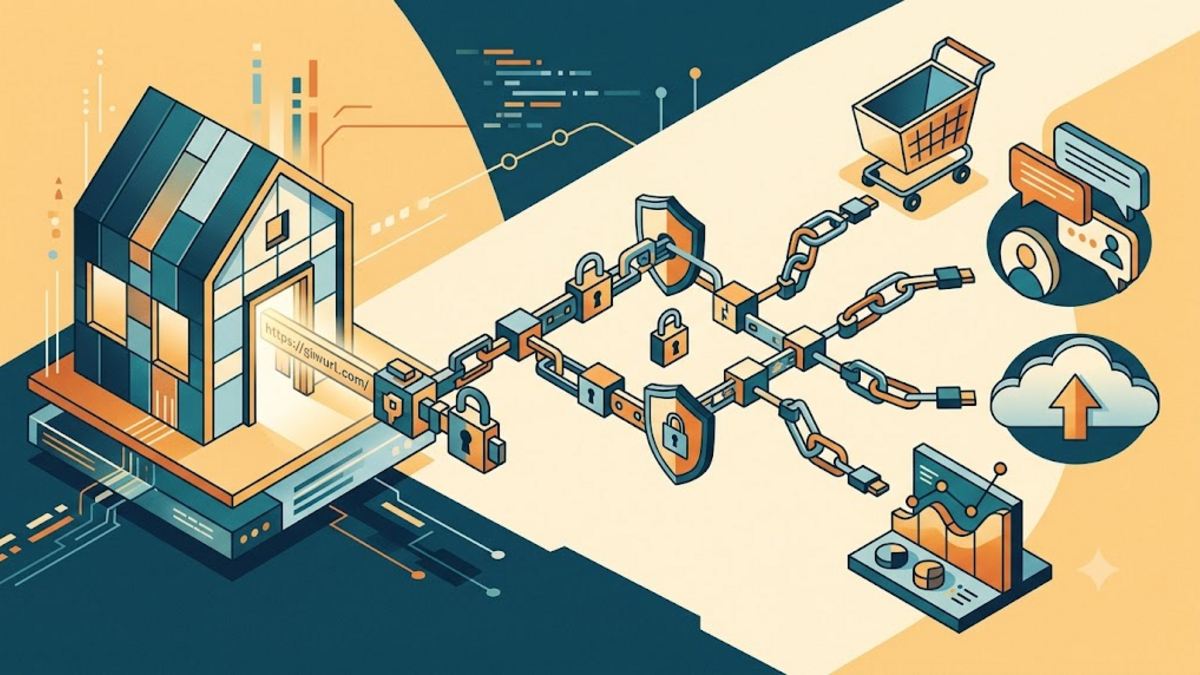
Logging in usually means borrowing an identity from a large platform. A button marked “Continue with Google” is convenient, but it quietly makes someone else’s domain the front door to our digital life. After building a personal website, that arrangement starts to feel backward: why should a rented profile prove who owns the home we actually control?
IndieAuth offers a different answer. It lets a personal website act as an identity while still using a trusted authorization service behind the scenes. The idea sounds abstract, but it is practical: your URL becomes the name you present to compatible applications, and you decide which services connect to it.
What IndieAuth actually does
IndieAuth is an identity layer built on OAuth 2.0. Instead of typing an email address or choosing a social network, a person enters a website URL such as https://example.com/. The application discovers authorization endpoints advertised by that website, sends the browser there, and eventually receives proof that the person controls the URL.
Think of it like using your home address as your identity while choosing a particular locksmith to verify your key. The house remains yours even if you replace the locksmith. In the same way, the identity URL and authorization server are separate pieces. You can move providers or self-host later without asking every compatible application to recognize a new identity.
IndieAuth is not a password manager, a universal replacement for every login system, or permission for an application to crawl an entire website. It is a protocol for authentication and delegated authorization. The requested scope determines what an application may do, while an access token represents that permission.
The discovery links on your homepage
A client needs to know where to begin. Your homepage provides that information through HTML <link> elements. A minimal setup points to an authorization endpoint and a token endpoint. These endpoints may live on your own domain or belong to a provider you trust.
<link rel="authorization_endpoint"
      href="https://auth.example.net/auth">
<link rel="token_endpoint"
      href="https://auth.example.net/token">
These links belong in the document’s <head>. Some deployments also return equivalent HTTP Link headers, but visible HTML discovery is easier to inspect when learning. Use HTTPS everywhere, keep redirects deterministic, and make sure the canonical URL resolves consistently with or without a trailing slash.
The exact configuration depends on the authorization server. A hosted service may ask you to verify the domain with a link or provider-specific metadata. A self-hosted server may require explicit redirect URI and client rules. The current specification is available at https://indieauth.spec.indieweb.org/; consult it and your provider’s documentation instead of copying endpoint examples literally.
Following one login from start to finish
Suppose you want to sign in to an IndieAuth-compatible reader. First, you enter your personal URL. The reader fetches the homepage and discovers the authorization endpoint. It creates an authorization request containing its client identifier, an exact redirect URI, a random state value, a code challenge, and the requested scope.
response_type=code
client_id=https://reader.example/app
redirect_uri=https://reader.example/callback
state=random-per-request-value
code_challenge=derived-pkce-value
code_challenge_method=S256
scope=profile
Your browser goes to the authorization server. After you authenticate and approve the request, the server redirects back with a short-lived authorization code. The reader checks state, then exchanges the code using its PKCE verifier. If everything matches, the result confirms the authenticated URL and may include an access token for the approved scope.
The sequence resembles collecting a registered parcel. Showing your identity at the counter is not enough; the parcel number, recipient, and pickup proof must also agree. OAuth parameters perform those cross-checks digitally. Skipping one because “the site is small” removes a layer that blocks real attacks.
Security details that are not optional
Always compare the returned state with the value stored before redirecting. This binds the callback to the browser session and helps prevent login CSRF. Use PKCE with S256 so an intercepted authorization code cannot be redeemed without the verifier. Redirect URIs need exact matching; permissive wildcards turn a safe handoff into an open side door.
Clients must also validate the identity returned by the authorization server instead of assuming it matches the URL originally entered. Servers should issue short-lived codes, prevent reuse, protect tokens at rest, and show clear consent screens. Ask for the smallest scope needed. A reader that only identifies a user should not request publishing permission.
Domain control deserves equal attention. If the domain expires, DNS is compromised, or the site can be edited by an attacker, the identity is at risk. Enable registrar MFA, maintain renewals, protect the hosting account, and back up the discovery configuration. Owning the front door still requires looking after its hinges.
A sensible adoption path
Start as a user rather than building an authorization server immediately. Choose a maintained provider, add the discovery links, and test with one compatible application. Inspect the authorization screen: does it show the correct URL, client, redirect destination, and scope? Deny the request once as well. A trustworthy flow must fail cleanly, not only succeed.
Next, document the setup in the same place as your DNS and hosting notes. Record which provider is active, how domain ownership is verified, and how to revoke sessions or tokens. Keep a recovery route that does not depend on the personal website being online. If an outage locks you out of the dashboard needed to repair that outage, the design has formed a circular dependency.
Self-hosting can come later when the benefit justifies patching, monitoring, backups, and security review. Protocol ownership does not require running every component at home. Email works the same way: owning an address on your domain is valuable even when a specialist operates the mail server.
Testing without guessing
Begin with ordinary browser developer tools. Confirm that the homepage returns 200, the discovery links appear in the final HTML, and no cache serves an older version. Check each endpoint over HTTPS. During a test login, inspect the requested redirect URI and scope rather than clicking approve automatically.
curl -sL https://example.com/ | grep -E \
  'authorization_endpoint|token_endpoint'
This command is only a quick discovery check; it is not a protocol conformance test. Also test cancellation, a second browser, expired sessions, and revoked access. If you operate the authorization server, monitor failed exchanges without logging authorization codes, tokens, or other secrets. Useful logs explain an error while leaving credentials out.
Identity that can outlive a provider
IndieAuth matters less because it adds another login button and more because it changes the center of gravity. The durable identifier is a URL you control, while providers and applications become replaceable tools around it. That is a modest architectural choice with a surprisingly human result: an online identity can have an address of its own.
It is not frictionless, and it should not be treated as magic. Secure domain management, careful OAuth validation, limited scopes, and a recovery plan remain essential. But if you already maintain a personal website, adding IndieAuth is a meaningful next experiment. Try it with one application, observe every redirect, and share what worked or failed in the comments so others can learn from the details.