
Tmux Workflow — Managing Terminal Sessions Like Managing a Workbench
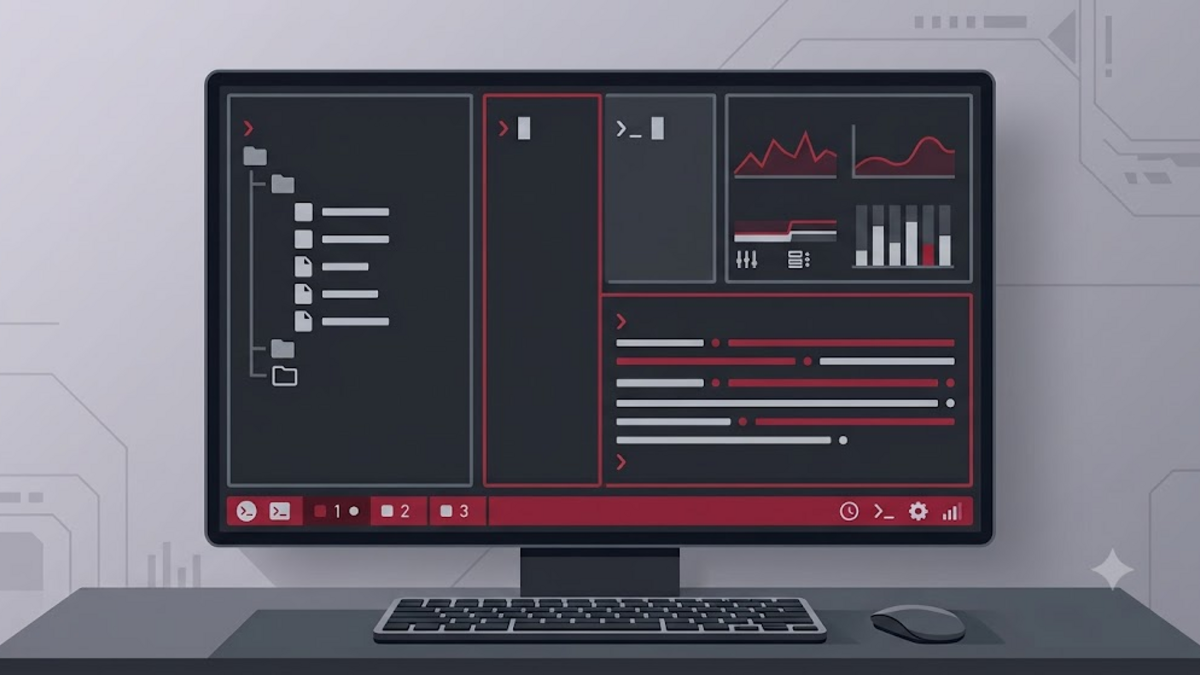
There were times when my terminal screen looked like an abandoned workbench: one tab for the frontend build, another for the server log, another for the editor, and another for SSHing to the home server. Then, when I have to switch to another laptop or turn off the computer to take a break, everything is gone. It's like arranging LEGO blocks on the floor, then someone sweeps the floor.
That's why I finally got serious about learning Tmux. In short, Tmux is a terminal multiplexer. It lets you run multiple terminal sessions in one window, split the screen into multiple parts, and most importantly — save your work even if the SSH connection is lost or the laptop is closed. In this article I want to share a daily workflow that makes my terminal much neater, calmer, and more productive.
What is Tmux and Why Does the Terminal Need "Space"
Imagine a normal terminal like a boarding room with one desk. If we have a lot of tasks — doing college assignments, repairing motorbikes, and cooking — everything has to be done at the same table. Things get mixed up, and every time we move tasks we have to clean the table first.
Tmux turns the boarding room into a house with several rooms. Each room has its own desk, and we can move from one room to another without having to tidy up the previous one. The room is called a session. The table in the room is called a window. And a table that is divided into several work sections is called a pane.
Why is this important? Because when we're doing many things at once — writing code, running servers, reading logs, running tests — our brains need structure. Not because we are stupid, but because different contexts must be placed in different spaces. Tmux provides that structure in a lightweight, unobtrusive way.
Session, Window, and Pane — Three Layers of Workbench
Tmux has a simple but powerful hierarchy. Understanding these three components is key before we discuss workflow further.
- Session is a closed room. Inside there are one or more windows. Sessions can be named, for example "blog", "server", or "ai-project". Sessions can be released (detach) and reconnected (attach) at a later time.
- Window is a tab in the session. Similar to tabs in a browser, but not hanging on the screen. Usually one window for one large task, for example "frontend", "backend", or "database".
- Pane is a window division. One window can be divided vertically or horizontally, so you can view the log in one pane and execute commands in another pane simultaneously.
For example, when I wrote this article, I had a session called adammuiz. Inside there is an "editor" window for Neovim, a "preview" window for running the local server, and a "notes" window for notes. I divided the "editor" window into two panes: left for code, right for terminal commands.
Everyday Workflow that Can Be Used Immediately
The following is the workflow that I have been using for the last few months. It's not a perfect setup, but it's enough to make the days more organized.
1. Create Session per Project
Each project has its own session. Don't mix everything in one big session. How to create a new session:
tmux new-session -s blog -dThe command above creates a session named blog without directly logging into it. To enter directly:
tmux new -s blog2. Open Window for Separate Tasks
In one session, create windows for different tasks. For example:
tmux new-window -t blog: -n editor
 tmux new-window -t blog: -n server
 tmux new-window -t blog: -n test
The above command creates three windows in the blog session: editor, server, and test. That way, I can switch between tasks without having to close or open a new terminal.
3. Broken Window So Pane
For windows that need side-by-side information, I divide the screen with panes. In Tmux, the default key prefix is Ctrl + b. Press prefix, then:
%to split the pane vertically."to split the pane horizontally.arrow keysto switch between panes.
For example, in the "editor" window I usually divide the screen: left for Neovim, right for running the command git status or npm run dev.
4. Save Work and Switch Devices
One of my favorite features is Tmux's ability to drop sessions. When I need to close the laptop, I just press Ctrl + b then d. The session continues to run in the background. When I came back, I connected again with:
tmux attach -t blogThe running server, open editor, and streaming logs are all still there. Like leaving a room with the lights on, then coming back and finding everything just as it was.
5. List and Select Session Quickly
If there are already a lot of sessions, I use the shortcut to see the list:
tmux lsOr from within Tmux, press Ctrl + b then s to view the session tree and window. Select with arrow keys, press Enter. This is much faster than opening a new terminal and retyping everything.
Minimal Configuration that Transforms the Experience
By default, Tmux can be used. But there are some settings that make the experience much more comfortable. I saved the configuration in ~/.tmux.conf.
# Ganti prefix key dari Ctrl+b ke Ctrl+a (mirip screen, lebih nyaman di jari)
set -g prefix C-a
unbind C-b
bind C-a send-prefix

# Bagi pane dengan shortcut yang lebih intuitif
bind | split-window -h
bind - split-window -v

# Aktifkan mouse untuk scrolling dan resize pane
set -g mouse on

# Mulai index window dari 1, bukan 0
set -g base-index 1
setw -g pane-base-index 1

# Warna yang lebih baik untuk terminal modern
set -g default-terminal "screen-256color"

# Reload config dengan prefix + r
bind r source-file ~/.tmux.conf \; display "Config reloaded!"
The above configuration is not strange. Just a small change that makes navigation faster. For example, the prefix Ctrl + a is closer to the other keys, so my hands don't have to dance on the keyboard. The mouse is activated not because I'm lazy, but because scrolling the log with the mouse is much more natural than pressing a button multiple times.
Saving Work with Detach and Attach
One of the most enjoyable stories since using Tmux was when I ran a build process that took a long time on the home server. I logged in via SSH, started building, then suddenly the home WiFi connection had problems. Without Tmux, the process might die and I'd have to start over.
But because I run the build inside a Tmux session, the process continues to run on the server even though SSH is disconnected. When the connection was restored, I simply attached again and saw that the progress had gone far beyond the last point I saw.
This is the most often underestimated strength of Tmux: it is not only a tool for splitting the screen, but also a tool for maintaining continuity of work. In a world distracted by notifications and interruptions, the ability to “save state” is a big little gift.
A Little Recipe to Start Today
If this is your first time trying Tmux, don't immediately change the entire workflow. Starting from one session for one project. Use these three commands:
tmux new -s proyekku
# di dalam Tmux, tekan Ctrl+b lalu d untuk detach

# kembali nanti
 tmux attach -t proyekku
Once comfortable, add a window. Then add pane. Then add a small configuration. Tmux doesn't ask you to become an expert overnight. It's actually best when you adapt it slowly to your own way of working.
Conclusion
Tmux is not a tool that makes you write code faster. It makes you calmer when working. With sessions, windows, and panes, you can give each task its own space. With detach and attach, you no longer need to worry about losing your work when the connection is lost or the laptop has to be closed.
For me, Tmux is like learning to tidy up your work desk. It feels complicated at first, but once you get used to it, it's hard to go back to the original mess. If you often deal with the terminal, try taking 15 minutes today to create a session. Who knows, your terminal will feel wider and friendlier than you ever imagined.
Have you used Tmux too? Or do you even use screen, zellij, or another terminal multiplexer? Tell me in the comments — I'd love to know which workflow works best for your work style.